

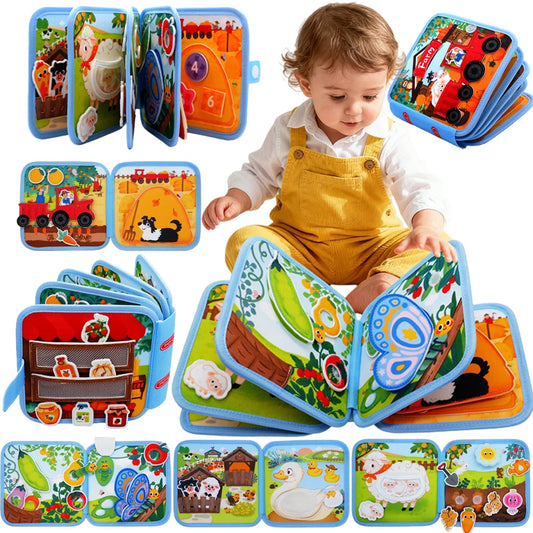
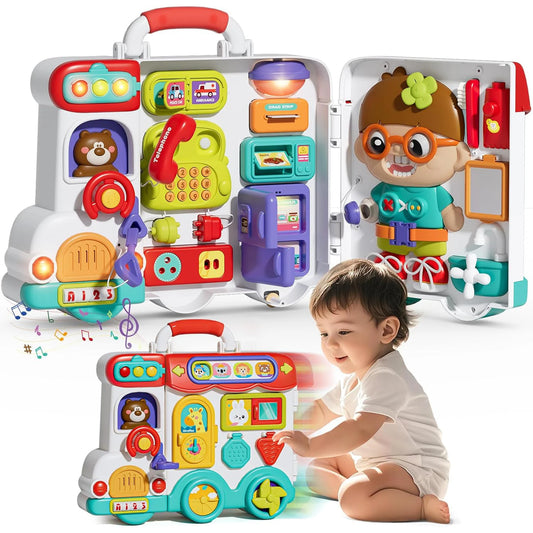
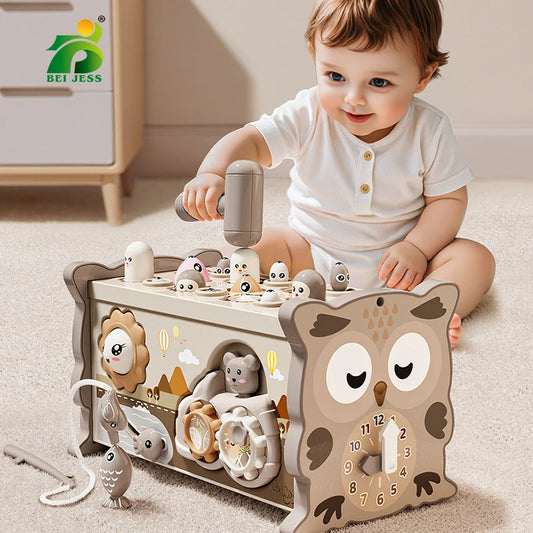
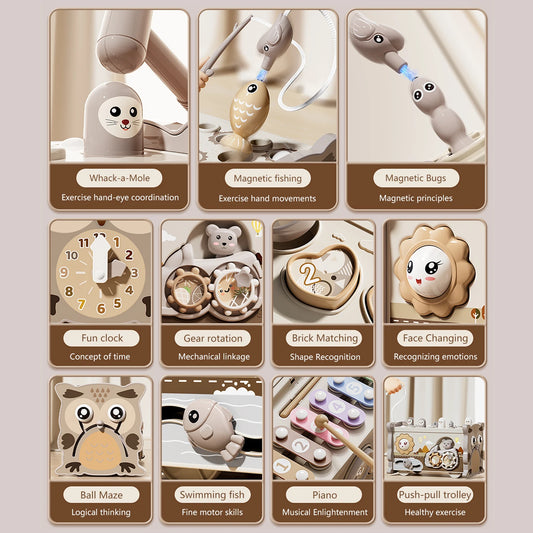

You can make a busy board for a 2 year old by choosing a sturdy base and adding a small number of securely attached, age-appropriate activities. At two, many toddlers may enjoy zips, large buckles, wheels, sliders and simple doors more than younger children. However, every part still needs to be checked for choking, pinching, entanglement and breakage risks. A homemade busy board is not automatically compliant with Australian toy-safety requirements, so its design, construction and ongoing inspection remain the adult maker’s responsibility.
| What to consider | Better approach | Avoid |
|---|---|---|
| Activities | Large, simple fixed mechanisms | Complicated activities with loose pieces |
| Small parts | Permanently secured components | Beads, balls, keys and detachable hardware |
| Moving parts | Smooth parts with adequate finger space | Sharp or obvious pinch points |
| Magnets | Prefer magnet-free activities | Loose or accessible magnets |
| Batteries | Prefer mechanical activities | Accessible button or coin batteries |
| Cords | Short, fixed components where appropriate | Long cords, loops and chains |
| Hardware | Secure fixings with an enclosed back | Exposed screws or sharp ends |
| Use | Supervised play and regular checks | Unsupervised use |
Can You Make a Busy Board for a Two-Year-Old?
Yes, but safety should determine the design rather than appearance or the number of activities. A two-year-old may be able to operate more complicated mechanisms than a one-year-old, but ordinary household hardware is not automatically suitable for use as a toddler toy.
The individual child matters too. Some two-year-olds still mouth and pull objects frequently, while others focus more on opening, closing and matching activities. When choosing activities, use the same age-and-child-specific approach you would use when comparing Best Toys for 2 Year Old Toddlers.

What Can a Two-Year-Old Do With a Busy Board?
A two-year-old may enjoy opening flaps, turning wheels, moving captive sliders, fastening large buckles and pulling sturdy zips. These actions can be slightly more involved than the simpler sensory activities commonly included when learning How to Make a Busy Board for a 1 Year Old: Safety-First Guide.
You can also increase difficulty without adding loose pieces. For example, combine two fixed actions in sequence, place a latch before a door, or use permanently attached shapes that slide between matching areas.
10 Busy Board Ideas for a 2 Year Old
The following busy board ideas for 2 year old children provide useful starting points. Each idea still needs to be adapted to the child, materials and construction method.
1. Zip, Buckle and Fastener Board
Concept: Create a section based on simple dressing actions.
Possible components: a large zip, broad fabric straps and a securely attached oversized buckle.
Why it may appeal: toddlers often enjoy copying everyday dressing actions.
Construction consideration: anchor fabric firmly so pulling cannot expose fixings.
Safety point: avoid small buttons, detachable zipper pulls and loose cords.
2. Large Latch and Door Board
Concept: Add one or two doors with pictures underneath.
Possible components: large handles, hinges and carefully selected latches.
Why it may appeal: opening and closing provides an easy repeated activity.
Construction consideration: allow enough space around moving parts.
Safety point: check for finger traps and avoid loose keys.
3. Wheel, Gear and Slider Board
Concept: Use permanently attached rotating and sliding activities.
Possible components: large wheels, enclosed gears and captive sliders.
Why it may appeal: movement gives immediate visual and physical feedback.
Construction consideration: components should tolerate repeated pulling and turning.
Safety point: inspect gaps where fingers could become trapped.
4. Fixed Colour and Shape Board
Concept: Introduce simple colour or shape recognition without removable pieces.
Possible components: painted shapes, rotating discs or captive sliding shapes.
Why it may appeal: children can interact with colours while manipulating the board.
Construction consideration: keep shapes permanently connected.
Safety point: avoid small removable puzzle pieces.
5. Family Photo and Peekaboo Board
Concept: Hide familiar photographs behind flaps or doors.
Possible components: enclosed photographs, fabric flaps and hinged panels.
Why it may appeal: familiar faces can make repeated opening and closing more interesting.
Construction consideration: protect photographs from tearing.
Safety point: inspect fabric and hinges regularly.
6. Daily Routine and Weather Board
Concept: Use fixed images representing everyday routines.
Possible components: rotating images for meals, bedtime, sunshine or rain.
Why it may appeal: familiar daily events provide context for play.
Construction consideration: keep all indicators permanently attached.
Safety point: avoid magnetic cards, clips and loose tokens.
7. Car and Transport-Themed Board
Concept: Use fixed vehicle-inspired activities.
Possible components: wheels, captive sliders and painted roads.
Why it may appeal: toddlers interested in transport may enjoy repeated wheel and slider movements.
Construction consideration: secure wheels and axles carefully.
Safety point: avoid detachable miniature cars or small wheels.
8. Farm and Animal-Themed Board
Concept: Combine animal imagery with simple mechanisms.
Possible components: barn doors, fixed animal pictures and rotating sections.
Why it may appeal: familiar animals can provide an engaging theme.
Construction consideration: use painted or enclosed images instead of miniature figures.
Safety point: avoid small bells and detachable decorations.
9. Quiet Felt Activity Board
Concept: Use soft fabric activities instead of mainly timber or metal parts.
Possible components: felt panels, large zips and permanently attached fabric shapes.
Why it may appeal: fabric provides a different tactile experience.
Construction consideration: use strong stitching and regularly inspect seams.
Safety point: remove damaged sections if threads or filling become accessible.
10. Mixed Practical-Life Board
Concept: Combine several different actions on one board.
Possible components: a zip, slider, fixed wheel, simple door and texture panel.
Why it may appeal: the child can move between different activities.
Construction consideration: leave enough space between each component.
Safety point: avoid overcrowding the board with unnecessary hardware.
For more general inspiration, DIY Busy Board Ideas: A Safety-First Guide for Parents and What Are Busy Boards? A Parent’s Guide to Types, Benefits and Uses can help you compare different formats before choosing activities.
What Should You Not Put on a Two-Year-Old’s Busy Board?
Any part that can detach, break into small pieces, create a dangerous loop or expose sharp hardware deserves particular attention. Australian Product Safety guidance for toys intended for young children also highlights hazards associated with small parts, magnets and batteries.
| Part or feature | Main risk | Practical approach |
|---|---|---|
| Loose magnets | Serious injury if swallowed | Avoid accessible magnets |
| Button or coin batteries | Severe injury if swallowed | Prefer battery-free activities |
| Accessible battery boxes | Battery exposure | Do not use improvised compartments |
| Long cords or strings | Entanglement or strangulation | Avoid long free-hanging sections |
| Chains and loops | Entrapment or broken links | Avoid loose decorative chains |
| Loose keys | Choking risk | Use no removable keys |
| Small balls and beads | Choking | Avoid small loose objects |
| Live wiring | Electric shock | Never connect to mains electricity |
| Sharp hardware | Cuts or punctures | Cover or eliminate exposed hardware |
| Brittle decorations | Small broken pieces | Choose durable fixed components |
Magnets and button batteries require particular caution because swallowing them can cause serious injuries. For a homemade toddler board, excluding these elements is usually simpler than trying to recreate the secure containment used in appropriately designed commercial products.
Materials and Parts for a Two-Year-Old’s Busy Board
There is no single list of busy board parts for 2 year old children that works for every project. The correct materials depend on your board design, installation method and individual child.
| Material or part | Possible use | Check before use |
|---|---|---|
| Quality plywood | Main base | Splinters, edges and condition |
| Timber | Support or backing | Smoothness and structural strength |
| Suitable paint or finish | Surface finishing | Manufacturer guidance |
| Large hinges | Doors | Pinch points and attachment |
| Captive sliders | Movement activity | Security and finger gaps |
| Fabric | Zips and textures | Fraying and attachment |
| Large buckle | Practical activity | Size and detachable parts |
| Fixed wheels | Rotating activity | Axle security |
| Enclosed pictures | Peekaboo activity | Peeling and tearing |
Plywood can be convenient because it is rigid and relatively easy to work with. MDF can also be used in some projects, but its edges, finish, weight and behaviour when damaged need consideration. Neither material automatically makes a board safe.
How to Plan the Busy Board Layout
Plan both sides of the board before drilling. Mark every activity and fixing position so screws, bolts and moving mechanisms do not interfere with each other on the reverse side. Keep enough space around doors, wheels and sliders for fingers and adult inspection.

Decide how you will enclose the back at the same stage. Screw ends, nuts and other fixings should not remain accessible to the child. Planning the reverse side early can prevent difficult or unsafe fixes later.
How to Assemble a Busy Board for a 2 Year Old
Construction, drilling, cutting and mounting should be completed by a competent adult. The exact fixings depend on your materials, so avoid relying on one universal recommendation for screws, timber thickness, adhesive or wall hardware.
-
Step 1: Inspect Every Component
Check every part before installation. Reject damaged, sharp, brittle or poorly constructed components, along with anything containing loose magnets, accessible batteries or small detachable pieces.
-
Step 2: Prepare and Finish the Base
Cut and smooth the board away from the child. Check all edges and surfaces carefully and follow the manufacturer’s instructions for any finish you choose.
-
Step 3: Test the Layout
Place all components on the board before drilling. Operate doors, sliders and wheels to check spacing, finger access and where the fixings will emerge on the reverse side.
-
Step 4: Attach Each Activity Securely
Choose an attachment method appropriate to the materials and forces involved. Once installed, pull and operate every component to check for movement.
-
Step 5: Enclose the Reverse Side
Cover or otherwise isolate hardware on the back so the child cannot reach screw tips, nuts or other sharp components.
-
Step 6: Mount or Position the Board
Choose a stable setup suitable for the board’s size, weight and intended location. Wall mounting or other structural installation should be completed by a competent adult using appropriate fixings.
-
Step 7: Complete a Final Adult Inspection
Operate every activity repeatedly and inspect the front, sides and back. Look for movement, sharp edges, exposed hardware and components that may fail under stronger-than-expected pulling.
How to Introduce and Use the Busy Board
Begin with a few activities and demonstrate how they move. There is no need to show every mechanism immediately. Allow the child to explore the board while remaining nearby.
As the child becomes familiar with it, slightly more challenging sequences can be introduced without adding removable pieces. For example, a child might first move a fixed latch and then open a permanently attached door.
Safety Checks Before Every Play Session
A homemade busy board for 2 year old children should not be treated as a build-once-and-forget project. Repeated pulling and movement can loosen fixings, damage fabric or create sharp areas over time.
Inspect, Pull and Operate Every Component
Before use, move each activity and gently pull fixed components. Run your hand around accessible surfaces and check that nothing has changed since the previous play session.
Check for Damage, Wear and Loose Hardware
Look for loose screws, cracked timber, peeling finishes, frayed fabric, damaged hinges or components beginning to separate from the base.
Know When to Repair or Retire the Board
Stop using the board if a component becomes loose or damaged. Repair the underlying problem before allowing further play. If the board can no longer be maintained safely, replacing it may be the better option.
DIY or Ready-Made: Which Option Is Better at Age Two?
A DIY busy board gives you control over the activities and design, especially if you already have suitable tools and woodworking experience. However, the adult also takes responsibility for selecting materials, securing components, mounting the board and inspecting it over time. Homemade construction alone does not demonstrate compliance with relevant Australian toy-safety requirements.
A ready-made activity toy may be easier when it comes with clear age guidance, instructions and appropriate product information. Families can also compare simpler alternatives through resources such as Best Toddler Toys Under $50 and Best Educational Toys Under $50. Do not assume a current Busy Board product is appropriate for age two unless its age guidance and relevant safety documentation have been verified.
Related Products
Frequently Asked Questions
What Should Be on a Busy Board for a 2 Year Old?
Consider a few securely attached activities such as a large zip, buckle, captive slider, fixed wheel and simple door. The exact selection should reflect the individual child.
How Many Activities Should a Two-Year-Old’s Busy Board Have?
There is no fixed number. A smaller board with well-spaced activities is often easier to construct, inspect and use than an overcrowded design.
What Size Should the Board Be?
There is no universal size. Choose dimensions based on the activities, intended location and mounting method while leaving enough space between moving components.
Can You Use Household Items on a Busy Board?
Some household items may appear suitable, but they were not necessarily designed as toddler toys. Assess their size, materials, edges, moving parts and potential failure points before considering them.
Is Plywood Suitable for a Busy Board?
Plywood can work well as a rigid base when properly selected and finished. Check for splinters, damaged layers and rough edges before use.
Can You Use MDF for a Busy Board?
MDF may be suitable for some designs, but its weight, edges and finish require consideration. Inspect it regularly for damage or deterioration.
Can You Glue Parts to a Busy Board?
Glue may be appropriate for certain applications, but it should not automatically be relied upon for parts that will be repeatedly pulled or twisted. Follow the adhesive manufacturer’s instructions and consider the expected load.
How Do You Cover Screws on the Back?
Plan a secure backing or enclosure that keeps exposed screw ends and other fixings inaccessible. It is easier to design this before drilling than to add it afterwards.
Can You Add Lights or Sounds?
Mechanical activities are generally simpler for a DIY toddler board. Avoid live wiring and be particularly cautious with electronic features involving button or coin batteries.
Does a Two-Year-Old Need Supervision With a Busy Board?
Yes. Supervision helps you notice unusual use, excessive pulling and early signs of damage that might otherwise go unnoticed.
Is It Cheaper to Make or Buy a Busy Board?
It depends on the tools and materials you already own. DIY may be economical for an experienced maker, but purchasing timber, hardware and finishing materials can make a ready-made alternative similarly priced or cheaper.
Choose the Safest Practical Option for Your Two-Year-Old
Learning how to make a busy board for 2 year old children is mainly about selecting a few useful activities that can remain secure, inspectable and suitable for the individual child. Small parts, magnets, batteries, cords, exposed hardware and weak attachments deserve particular attention, and Australian ACCC Product Safety guidance should form part of your planning.
Safety note: A homemade busy board cannot be assumed to comply with Australian toy-safety standards simply because it appears sturdy or uses large components. If you are not confident about construction, mounting or ongoing maintenance, choosing a simpler age-appropriate toy or a ready-made product with suitable age and safety information may be the more practical option.