

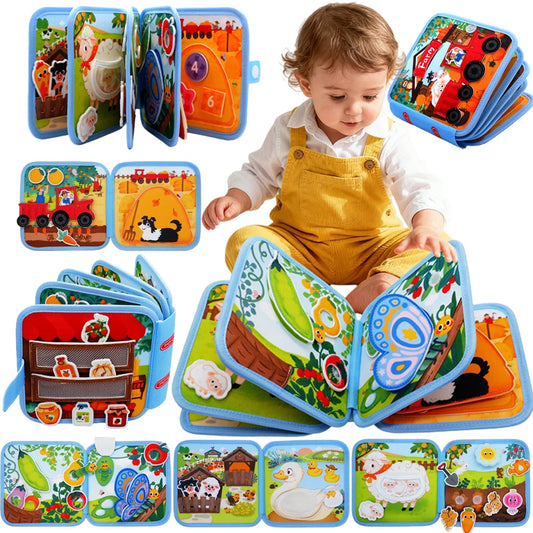
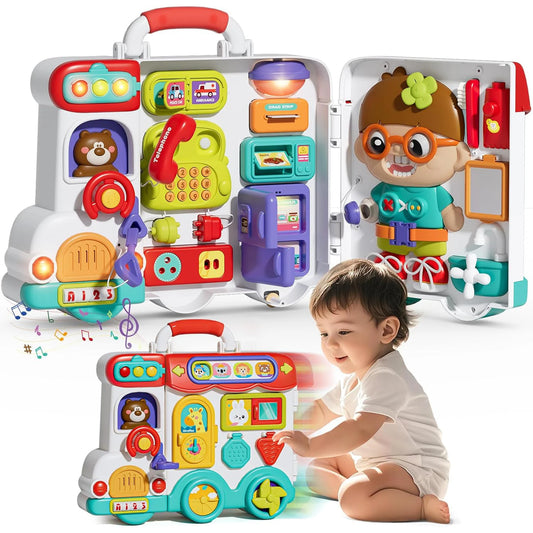
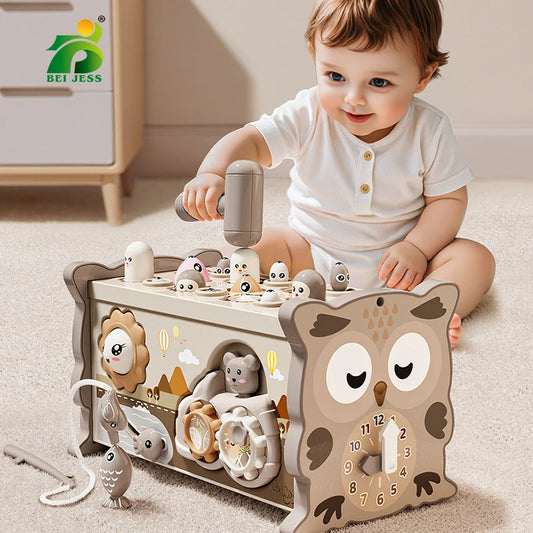
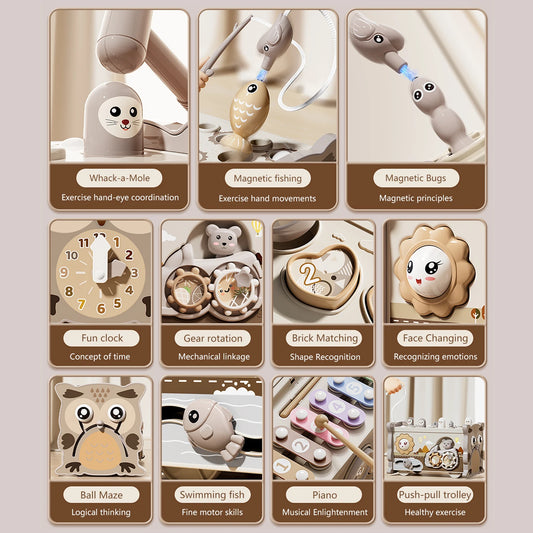

A homemade busy board can give children simple hands-on activities such as opening, sliding, turning and fastening. But good DIY busy board ideas should be planned around safety, not simply around fitting as many interesting objects as possible onto a board.
This guide covers planning, busy board DIY parts, 15 practical ideas, assembly considerations and regular safety checks. Because every board, component and child is different, the information should be used as general guidance rather than a universal construction specification.
| Planning area | Questions to ask | Why it matters |
|---|---|---|
| Child | What can they safely grip, pull and manipulate? | Abilities and mouthing behaviour vary |
| Format | Wall, floor, tabletop or portable? | Each format creates different risks |
| Activities | Which movements are genuinely useful? | Less clutter makes inspection easier |
| Materials | Can every component be checked and cleaned? | Household hardware is not automatically toy hardware |
| Construction | Can all fixings and sharp points be enclosed? | The back matters as much as the front |
| Maintenance | Can you inspect the board regularly? | Components may loosen with repeated use |
DIY Busy Boards: What to Know Before You Start
A DIY busy board is a homemade activity panel containing objects a child can manipulate, such as latches, handles, zips, buckles, wheels, sliders, flaps, textures or mechanical switches. For a broader introduction to the different formats available, see What Are Busy Boards? A Parent’s Guide to Types, Benefits and Uses.
Once household components are attached to a panel for play, their intended use has changed. The person building the board is responsible for selecting suitable parts, securing them properly, smoothing surfaces, enclosing hardware, assessing materials, positioning the board and continuing to inspect it after construction.

Why DIY Toys Need Additional Safety Checks
Commercial children's toys may include manufacturer age grading, instructions and information relating to applicable safety requirements. A homemade board does not automatically come with these safeguards. ACCC Product Safety advises parents to choose sturdy, age-appropriate toys and regularly check them for damage or parts that could become choking hazards. Toys intended for children up to and including 36 months are also subject to a mandatory Australian safety standard addressing risks including small parts.
Ordinary household hardware may include sharp metal edges, small screws, springs, removable caps or pinch points. Magnets, batteries, cords and unsuitable finishes introduce additional concerns. For more age-related safety guidance, see Are Montessori Toys Safe for Babies?
When a Homemade Busy Board May Not Be Appropriate
A ready-made board may be the more practical option when the intended user is a baby or very young toddler, when the maker does not have suitable construction experience or when the proposed design requires electrical parts, magnets or complicated wall mounting.
Buying may also make more sense if the back cannot be properly enclosed, the chosen components have unknown materials or coatings, or the board will not be accessible for regular inspection. There is no benefit in completing a DIY project if you are not confident that the finished product can remain secure during repeated pulling, twisting and everyday play.
Related Products
How to Plan a DIY Busy Board
Good planning begins with the child rather than the hardware aisle. Instead of asking how many objects will fit on a board, consider which movements match the child's current abilities and which activities can be incorporated without making the design difficult to inspect.
A simple board with five carefully chosen activities may be more practical than a crowded board containing 20 different mechanisms. Planning also gives you an opportunity to identify potential pinch points, exposed fittings and positioning problems before anything is drilled or permanently attached.
Start With the Child’s Age and Abilities
Consider whether the child still regularly mouths objects, whether they can sit or stand independently, how confidently they grip and manipulate objects and how forcefully they are likely to pull. Familiarity with zips, buckles and simple fasteners can also help determine which activities will actually be usable.
Do not assume that a design is suitable simply because another parent made something similar for a child of the same age. For age-specific toy-selection guidance, see Choosing the Best Toys for 1 Year Old Toddlers and Best Toys for 2 Year Old Toddlers.
Decide Where the Board Will Be Used
A wall-mounted busy board can save floor space but requires appropriate installation for the wall material and board weight. A freestanding design needs to resist tipping, while a floor board should not slide as the child pulls on it.
Portable and felt boards create different considerations again. Travel boards should remain manageable in weight and should not interfere with child restraints during car journeys, while fabric versions rely heavily on strong stitching and secure edges.
Choose a Manageable Number of Activities
Select a coherent group of activities based on the available area, the child's abilities, your construction experience and how easily every component can be checked later. Moving mechanisms also need enough separation to prevent one activity interfering with another.
Empty space is not a problem. Leaving room between activities can make movements easier for small hands and makes it simpler for an adult to inspect attachment points and edges.
Sketch and Test the Layout
Measure the base and arrange all components before attaching anything. Move each latch, wheel, flap or slider through its complete range and check that there is enough room for a child's hand.
Look at the reverse side too. Mark where fasteners will emerge, consider how they can be enclosed and make sure neighbouring mechanisms do not overlap. Photographing the final arrangement before construction can make assembly easier.
Busy Board DIY Parts and Materials
Choosing busy board DIY parts requires more assessment than simply deciding whether a component looks interesting. A part designed for a cupboard, handbag or piece of furniture was not necessarily designed to be repeatedly handled or mouthed by a young child.
There is also no universal screw size, timber thickness, adhesive or wall fixing suitable for every project. Attachment choices depend on the component, board material, expected load and installation surface.
| Part category | Possible options | Main checks |
|---|---|---|
| Base | Solid timber or suitable sheet material | Strength, weight, smooth edges |
| Fasteners | Large buckles, zips, selected latches | Size, attachment, pinch points |
| Moving parts | Wheels, sliders, mechanical switches | Fixings and exposed hardware |
| Soft parts | Felt, fabric, textured panels | Stitching, fraying, cleaning |
| Backing | Fixed protective enclosure | No accessible screw or bolt ends |
| Finish | Product chosen for intended use | Instructions and complete curing |
| Mounting | Suitable fixings for the installation | Wall type, board weight and stability |
Choosing a Base Board
Possible bases include solid timber, plywood, MDF and fabric. Consider strength, weight, smoothness, moisture resistance and the ability to hold fixings.
MDF and plywood should not be labelled universally safe or unsafe. Suitability depends on the specific material, finish and construction.
Fasteners, Handles and Moving Parts
Common options include large zips, buckles, handles, wheels, sliders, latches, small doors and non-powered switches.
Check each component for sharp edges, small screws, springs, removable caps and finger pinch points.
Fabric, Felt and Texture Elements
Fabric activities can include flaps, zips, textures and large fasteners. Stitching should be strong and edges should not fray.
Avoid loose beads, sequins, fillers, small buttons and long ribbons that may detach or create unnecessary hazards.
Paints, Finishes and Adhesives
Always follow the manufacturer's instructions for paint, finishes and adhesives and allow them to cure fully before use.
Do not assume that a water-based product is automatically suitable for toys. Adhesive should also not automatically replace a secure mechanical attachment.
Parts to Avoid or Assess With Extra Care
Use particular caution with:
- Loose magnets
- Accessible button batteries
- Glass mirrors
- Long cords or loops
- Small keys
- Beads and marbles
- Sharp metal parts
- Exposed springs
- Removable caps
- Accessible hinge gaps
- Live electrical components
- Heavy hardware
- Unknown coatings
15 DIY Busy Board Ideas for Different Interests
These DIY busy board ideas provide inspiration rather than fixed shopping lists. Every component still needs to be checked for the intended child and construction method.
For more homemade activity ideas, see How to Make Montessori Toys.
-
Simple Opening and Closing Board
Use small doors, flaps, fixed handles and simple latches to create repetitive opening and closing activities.
Keep hinges separated, edges smooth and all handles firmly attached.
-
Zip, Buckle and Fastener Board
Combine large zips, buckles, snaps and fabric fasteners for children interested in dressing-style movements.
Avoid long loops and small detachable zipper pulls, and regularly inspect the stitching.
-
Texture Exploration Board
Use securely attached felt, ribbed fabric, smooth fabric and textured panels.
Choose easy-to-clean materials and avoid loose fibres, sequins or exposed staples.
-
Wheels, Spinners and Sliders Board
Large wheels, rotating discs and sliders can create simple mechanical activities.
Check finger gaps, central fixings and any caps or hardware that might loosen.
-
Peekaboo Family Photo Board
Place family or pet photos behind securely attached doors or fabric flaps.
Use enclosed photo pockets rather than glass or sharp plastic covers.
-
Colour and Shape Matching Board
Use fixed colour sections, large shapes or sliding selectors to create simple matching activities.
Avoid small removable pieces and loose magnets.
-
Everyday Dressing Skills Board
Include large zips, buckles, buttons and fabric snaps inspired by everyday clothing.
Make sure buttons and fasteners cannot detach and avoid long laces.
-
Car and Transport-Themed Board
Use a lightweight fixed wheel, sliders, mechanical switches and vehicle images.
Avoid real automotive wiring, loose keys, heavy components and accessible batteries.
-
Farm and Animal-Themed Board
Create barn-style doors, fixed animal images, textures and large sliders.
Do not add loose miniature animals, bells or small decorative pieces.
-
Weather and Daily Routine Board
A fixed weather wheel, morning/evening panels and sliding indicators can create a simple routine-based board.
Keep moving pointers secure and avoid loose calendar pieces.
-
Alphabet and Number Board
Fixed raised letters, number sliders and tracing paths can add an early-learning theme.
Avoid small removable characters and check that every raised element remains secure.
-
Non-Powered Switch and Control Board
Use mechanical switches, dials, sliders and large buttons without electricity.
Do not add household wiring, live electrical parts or accessible batteries.
-
Quiet Felt Busy Board
A felt busy board DIY design can include fabric flaps, large buckles, zips and textured sections.
Use strong stitching and avoid loose felt shapes, small buttons and long ribbons.
-
Portable Travel Busy Board
Choose a lightweight base with a few quiet activities such as a zip, buckle, flap and slider.
Keep the design light, avoid loose pieces and make sure it does not interfere with a child restraint during travel.
-
Mixed Practical-Life Activity Board
Combine one zip, buckle, door, wheel, slider and texture panel for a varied but uncluttered design.
Space activities apart and assess every mechanism individually.
How to Assemble a DIY Busy Board
Start by choosing the intended user, base and activities. Arrange the layout, prepare the surface, attach each component appropriately, enclose exposed fixings and position the finished board securely.
Power tools, drilling and wall installation should be completed by a competent adult following the relevant manufacturer instructions.
Prepare and Finish the Base
Cut materials in an appropriate workspace, smooth all surfaces and remove construction dust.
Apply any selected finish according to its instructions and allow it to cure completely before continuing.
Mark the Layout Before Drilling or Attaching Parts
Test every mechanism before drilling. Make sure moving parts have enough clearance and do not interfere with neighbouring activities.
Mark both the front and reverse attachment points and decide how the back will be enclosed.
Attach and Enclose Every Fastener
Attachment methods depend on the component, base and expected pulling force.
No screw points, bolt ends or sharp hardware should remain accessible. A fixed backing panel may be required.
Mount or Position the Board Safely
Wall-mounted boards require appropriate fixings for the wall material and board weight.
Floor and tabletop boards should also remain stable and resist tipping or sliding during use.
DIY Busy Board Safety Checklist
Inspect the completed board before first use and continue checking it regularly. A home inspection does not certify that a homemade toy complies with Australian toy-safety requirements.
Remove the board from use whenever a component or surface becomes damaged.
Inspect the Board Before First Use
Check that:
- Parts suit the intended child's abilities.
- No small detachable pieces are present.
- Batteries and magnets are inaccessible.
- There are no sharp edges or splinters.
- Fasteners do not protrude.
- Hinges have no obvious pinch hazards.
- Long cords and loops are avoided.
- Finishes are fully cured.
- The reverse side is enclosed where needed.
- The board cannot easily tip or slide.
- Every component remains firmly attached.
Check the Board Before Every Play Session
Look for loose parts, cracks, splinters, fraying, exposed fasteners, peeling paint, failed adhesive, rust and damaged hinges.
Wall fixings and backing panels should also remain secure.
Know When to Repair or Retire the Board
Stop using the board if a component loosens, the base cracks, hardware becomes exposed or fabric begins to fray.
It should also be removed if a battery area, cord, sharp edge or unstable mounting becomes accessible.
DIY Busy Board or Ready-Made Board: Which Is Better?
DIY boards offer more personalisation and can be designed around specific interests. They can work well for adults who already have appropriate tools and construction skills.
A ready-made Busy Board may be easier when you prefer a finished product with manufacturer information and no construction work. Best Toddler Toys Under $50 can also provide lower-cost alternatives.
| Consideration | DIY board | Ready-made board |
|---|---|---|
| Personalisation | Highly flexible | Limited to available designs |
| Time | Requires building | Usually ready to use |
| Tools | Often required | Usually unnecessary |
| Safety responsibility | Mainly on maker | Manufacturer guidance may exist |
| Cost | Depends on materials and tools | Purchase price is clearer |
| Age information | Maker assesses suitability | May include age grading |
| Repairs | Managed by maker | Support may be available |
| Portability | Customisable | Fixed dimensions |
DIY is not always cheaper. Timber, hardware, finishes, tools and mounting materials can make a homemade board more expensive than expected.
Frequently Asked Questions About DIY Busy Boards
What Parts Can You Put on a DIY Busy Board?
Possible busy board DIY parts include large handles, buckles, zips, wheels, sliders, fabric activities and non-powered switches. Every component should be checked individually.
What Should You Not Put on a Busy Board?
Avoid loose magnets, accessible batteries, glass, long cords, small keys, beads, sharp hardware, live electrical parts and components that cannot be secured properly.
Can You Make a DIY Busy Board for a Baby?
It is possible to create homemade activities for babies, but extra care is required because babies frequently mouth and pull objects.
Do not assume that a busy board designed for an older toddler is suitable for an infant.
What Is the Best Base for a DIY Busy Board?
There is no single best base. It should be strong, smooth, manageable in weight and able to securely hold the selected parts.
Can You Use MDF for a Busy Board?
It depends on the specific MDF product and construction. Consider weight, edge durability, dust during cutting, moisture and how well it holds fixings.
How Do You Secure Parts to a Busy Board?
The attachment method depends on the component, base material, movement and expected pulling force.
Follow the relevant fixing instructions or seek help from someone with suitable construction experience.
Can You Glue Parts to a Busy Board?
Glue is not suitable for every component. Adhesive may fail due to pulling, moisture or incompatible surfaces.
Use it only according to product-specific instructions.
How Do You Stop Screws Protruding From the Back?
Plan the construction so no sharp point or fastener remains accessible.
Suitable fastener selection and a permanently secured backing enclosure may be required.
How Do You Make a Portable Busy Board?
Use a lightweight base, limit the number of activities and avoid heavy or loose parts.
Keep the back enclosed and make sure handles or straps remain secure.
Is It Cheaper to Make or Buy a Busy Board?
DIY may cost less if you already own suitable tools and materials.
If you need to buy timber, hardware, finishes, tools and fixings, a ready-made board may be more economical.
Choose the Safest Practical Option for Your Family
The best DIY busy board ideas keep the design simple, use carefully assessed busy board DIY parts and make regular inspection easy. Avoid unnecessary hazards, enclose exposed hardware and remove the board from use whenever damage appears.
If you have suitable tools and experience, a homemade design offers plenty of flexibility. If construction or mounting feels uncertain, choosing a finished Busy Board or another option from Best Educational Toys Under $50 may be the more practical choice.