

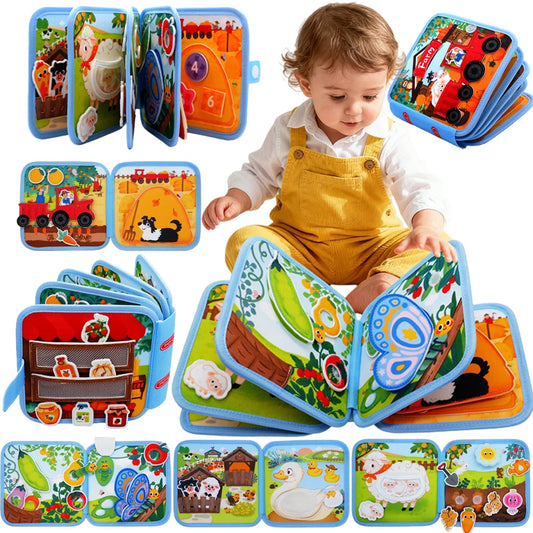
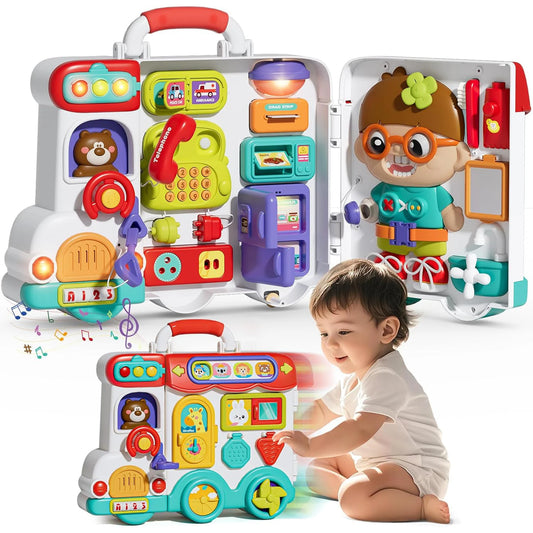
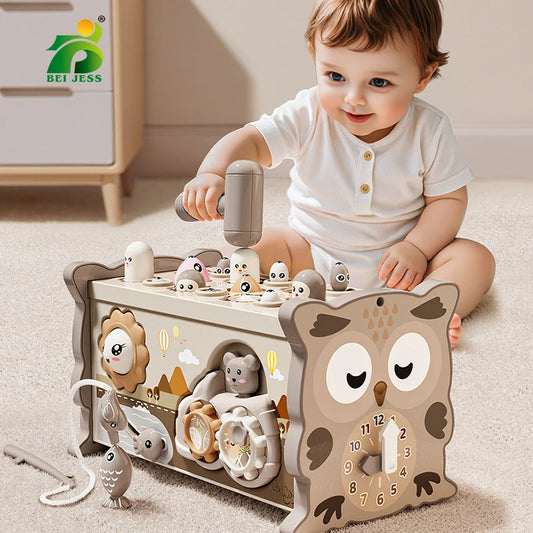
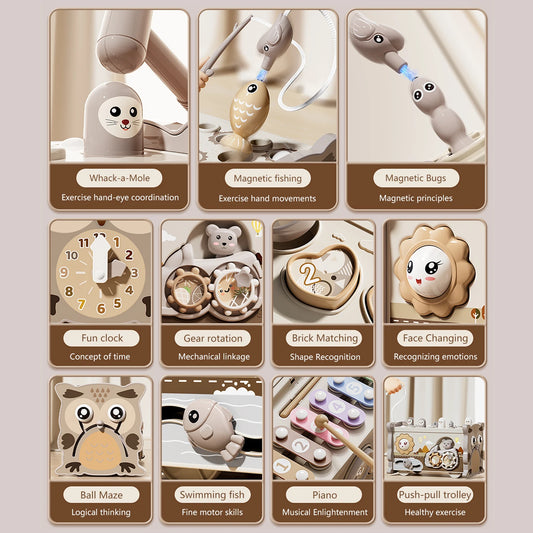

If you want to learn how to make a busy board for 1 year old, start with a strong, smooth base and a small number of large, securely attached activities. Avoid accessible batteries, magnets, long cords, small detachable pieces and exposed hardware. Because children around this age often mouth, pull, shake and drop objects, every component needs to be assessed for what could happen during repeated use—not just how it works when first installed.
A simple design is usually easier to inspect and maintain than a crowded board. Before building, plan both the front activities and the reverse side so that screws, nuts and other fasteners can be fully enclosed. For broader background, see What Are Busy Boards? A Parent’s Guide to Types, Benefits and Uses and DIY Busy Board Ideas: A Safety-First Guide for Parents.
Can You Make a Busy Board for a One-Year-Old?
Yes, a competent adult can make a homemade busy board for 1 year old, but the design needs to be more conservative than a board intended for an older toddler. A one-year-old may pull, bite, suck, twist, shake or drop components rather than using them only as intended.
ACCC Product Safety guidance recommends choosing sturdy, age-appropriate toys and checking that parts cannot easily break away. Small components, batteries and other items that could become accessible require particular caution around babies and young toddlers.
| Safety priority | What to consider for a one-year-old | Practical approach |
|---|---|---|
| Small parts | Parts may loosen after repeated pulling | Prefer large, permanently retained components |
| Mouthing | Almost any accessible surface may enter the mouth | Choose appropriate, cleanable materials |
| Pulling | Hardware may receive repeated force | Secure and regularly test attachments |
| Sharp hardware | Screws and fittings may become exposed | Fully enclose the reverse side |
| Stability | A toddler may lean or pull on the board | Use a stable setup or suitable secure mounting |
| Wear | Components can become unsafe over time | Inspect before every play session |
What Can a One-Year-Old Do With a Busy Board?
A one-year-old may enjoy touching textures, moving a large slider, turning a wheel, lifting a flap or pressing a large control. Activities do not need to be complex. Simple movements with large, securely retained components are generally easier for adults to inspect and maintain.
Avoid treating a busy board as something every toddler needs. Families comparing different options may also find Choosing the Best Toys for 1 Year Old Toddlers useful when deciding which type of toy is practical for their child.
Busy Board Ideas for a 1 Year Old
The safest busy board ideas for 1 year old children are usually simple, spacious and easy to inspect. Avoid overcrowding the board because additional mechanisms also mean additional fasteners, joints and potential failure points.
Here are eight straightforward concepts. Individual components still need to be assessed before use, even if the activity itself appears suitable.
| Activity idea | What the child can do | Main consideration |
|---|---|---|
| Large texture panel | Touch different surfaces | Prevent fabric edges from peeling |
| Felt flap | Lift and lower | Avoid detachable decorations |
| Captive slider | Move sideways | Slider must remain captured |
| Large turning wheel | Rotate | Check axle and caps cannot detach |
| Oversized knob | Grip and turn | Test regularly for loosening |
| Simple opening panel | Open and close | Minimise trapping points |
| Large push control | Press | Avoid removable caps |
| Short secured fabric section | Touch and manipulate | Avoid long straps and loops |
These DIY busy board ideas for 1 year old children deliberately avoid small decorative parts. If you are interested in making other simple activity toys, How to Make Montessori Toys can provide additional ideas, although homemade Montessori-style toys still require careful safety assessment.
What Should You Not Put on a Busy Board for a One-Year-Old?
Many online busy boards use keys, chains, beads, bells, magnets, cords, doorstops and electrical accessories. Household hardware should not automatically be considered suitable for toddlers simply because it is durable during normal adult use.
Small magnets and button or coin batteries are particularly unsuitable for casual DIY use because ingestion can cause severe injuries. Long cords, detachable decorations, exposed screws and brittle components should also be avoided.
| Common component | Potential problem | Safer approach |
|---|---|---|
| Loose keys | Detachable or small pieces | Avoid |
| Chains | Links and entanglement | Avoid at age one |
| Beads | Choking hazard if released | Avoid |
| Small bells | Small internal parts | Avoid |
| Magnets | Serious ingestion hazard | Avoid |
| Button batteries | Serious ingestion hazard | Avoid accessible battery systems |
| Long cords | Entanglement risk | Avoid |
| Spring doorstops | Parts may detach | Avoid unless suitability is established |
| Exposed screws | Sharp or accessible hardware | Cover completely |
| Electrical sockets/plugs | May encourage interaction with real fittings | Avoid |
| Small craft decorations | Can loosen over time | Avoid |
Parents considering Montessori-inspired products can also read Are Montessori Toys Safe for Babies? before using repurposed household objects for play.
Materials and Parts for a One-Year-Old’s Busy Board
Choose busy board parts for 1 year old children based on durability, size, cleanability and how securely they can be attached. Labels such as “wooden”, “natural” or “non-toxic” alone do not prove that a finished DIY toy is suitable.
| Part | Prefer | Avoid |
|---|---|---|
| Base | Flat, strong and smooth material | Splits, cracks and rough edges |
| Activities | Large, simple components | Small caps and removable pieces |
| Fabric | Strong, securely retained material | Fraying edges and loose threads |
| Finish | Suitable product used as directed | Unknown or damaged coatings |
| Fasteners | Secure and enclosed hardware | Accessible screw tips or nuts |
| Backing | Strong full enclosure | Exposed rear hardware |
| Mounting | Stable, appropriate installation | Improvised fixings |
Choosing the Base
Plywood or another suitable engineered timber may be used when it is flat, strong and properly finished. Inspect both surfaces and every edge for splinters, cracks or damaged layers.
There is no universal timber thickness for every busy board. Board dimensions, components and mounting method all affect the required strength.
Selecting Large Activity Components
Prefer large, uncomplicated components with as few removable pieces as possible. Inspect not only the main item but also its caps, pins, washers and other smaller elements.
A component should remain secure during repeated pulling and movement. ACCC guidance for toys intended for young children places particular importance on preventing accessible small parts.
Fabric, Felt and Texture Materials
Fabric and felt can create simple tactile activities without complex hardware. Attach them securely and watch for fraying, loose threads or peeling corners.
Avoid adding buttons, beads, sequins, pompoms or similar decorations that could detach after repeated handling.
Paints, Finishes and Adhesives
Use products appropriate for the intended application and follow the manufacturer's preparation, curing and use instructions. Surfaces should be fully cured before the board is offered for play.
Do not automatically use glue as the only attachment method for a component that will be repeatedly pulled. Adhesive suitability depends on the specific materials and expected loads.
Backing and Fastener Enclosures
Plan the rear enclosure before drilling the board. Screws, nuts, washers and sharp fastener ends should not remain accessible from behind.
The backing must also be securely retained. A cover that can be removed by pulling does not provide a reliable enclosure.
How to Plan the Busy Board Layout
Place all activities on the base before drilling. Check that moving components have enough space and that fingers cannot easily become trapped between nearby parts.
Also plan the reverse side at this stage. Mark where screws and fasteners will emerge and make sure the backing or mounting system can cover them properly.
| Layout check | Question |
|---|---|
| Spacing | Can each activity move freely? |
| Edges | Are all surfaces smooth? |
| Moving parts | Are trapping points minimised? |
| Fasteners | Where will each fixing emerge? |
| Backing | Can all hardware be enclosed? |
| Stability | What happens if the child pulls the board? |
| Cleaning | Can surfaces be inspected and wiped easily? |
How to Assemble a Busy Board for a 1 Year Old
Construction and mounting should be handled by a competent adult familiar with the tools and materials being used. Because every board, wall and component is different, avoid relying on universal recommendations for screw sizes, timber thickness, adhesives or wall fixings.
-
Step 1: Inspect Every Part
Check components for cracks, rust, sharp areas, removable caps and small pieces. Reject anything damaged or difficult to assess.
-
Step 2: Prepare and Finish the Base
Smooth the faces, corners and edges. If a finish is used, apply and cure it according to the manufacturer's instructions.
-
Step 3: Test the Layout
Arrange all components without fixing them permanently. Operate moving parts and check spacing, accessibility and possible trapping points.
-
Step 4: Attach Each Component Securely
Use a fastening method appropriate for the chosen base and component. Once attached, pull, twist and operate each activity firmly to check for unwanted movement.
-
Step 5: Enclose the Reverse Side
Fit a secure backing that prevents access to screw tips, nuts, washers and other rear hardware. Recheck the enclosure after installation.
-
Step 6: Position or Mount the Board
The board should remain stable when pushed or pulled. If it is wall-mounted, a competent adult should select fixings appropriate for the actual wall structure and board weight.
-
Step 7: Complete the Final Inspection
Operate every activity several times and inspect the front, edges and back. Look for sharp areas, loose hardware, trapping points or parts that could detach.
Remember that a home inspection does not mean the finished board has undergone formal Australian toy-safety compliance testing.
Safety Checks Before Every Play Session
Even a well-built board can change as components wear. ACCC Product Safety recommends regularly checking toys for damage, deterioration and parts that may be starting to separate.

| Check before play | What to look for |
|---|---|
| Components | Unexpected movement or loosening |
| Fasteners | Accessible screws or hardware |
| Fabric | Tears, fraying or loose threads |
| Timber | Cracks, chips or splinters |
| Finish | Peeling or deterioration |
| Moving parts | New trapping or sharp areas |
| Backing | Movement or separation |
| Mounting | Reduced stability |
Inspect, Pull and Move Every Component
Do not rely only on a visual check. Pull knobs, move sliders, rotate wheels and lift panels so that early loosening is easier to detect.
Frequently used activities deserve particular attention because repeated movement can gradually weaken an attachment.
Check for Damage, Wear and Loose Hardware
Look for widening holes, cracked timber, damaged finishes, frayed fabric and distorted hardware. Also check the floor around the board for anything that may have detached.
If a component has started to loosen, remove the board from use rather than waiting until it separates completely.
Know When to Remove the Board From Use
Stop using the busy board if any activity becomes loose, broken, sharp or unstable. The same applies if the backing or mounting starts to move.
After a repair, inspect the complete board again before returning it to play.
DIY or Ready-Made: Which Option Is Better at Age One?
DIY gives experienced adults control over the board's size, appearance and activities, but it also places responsibility for component selection, construction and ongoing inspection on the person making it.
A ready-made Busy Board may be easier to evaluate when it comes with clear age recommendations, manufacturer information and relevant safety documentation. Families should compare the actual product information rather than assuming either DIY or commercially made automatically means safer.
| Factor | DIY | Ready-made |
|---|---|---|
| Customisation | High | Depends on product |
| Construction | Required | Usually minimal |
| Component choice | Adult chooses | Manufacturer chooses |
| Safety documentation | Usually limited | May be available |
| Ongoing checks | Required | Still required |
| Cost | Depends on materials/tools | Known purchase price |
| Time | Planning and construction needed | Usually quicker |
If budget is an important factor, Best Toddler Toys Under $50 and Best Educational Toys Under $50 can provide alternatives before you commit to building a board.
Related Products
Frequently Asked Questions
What Should Be on a Busy Board for a 1 Year Old?
Choose a small number of large and simple activities, such as texture panels, securely captured sliders, turning components and soft flaps.
Prioritise parts that are easy to inspect and difficult to detach rather than filling the board with complicated hardware.
What Size Should the Busy Board Be?
There is no universal ideal size. It should provide enough room between activities while remaining stable in its intended position.
Choose dimensions after planning the activities, rear backing and mounting method.
Can You Use Household Items on a Busy Board?
Not automatically. Household hardware may contain small removable pieces, sharp edges or materials that were never intended for toddler play.
Assess every item individually and leave it off the board if its suitability is uncertain.
Is Plywood Suitable for a Busy Board?
Plywood can be a practical option when it is strong, undamaged and carefully smoothed.
Inspect all edges and surfaces for splinters, damaged layers or rough sections before assembly.
Can You Use MDF for a Busy Board?
MDF may be usable in some designs, but suitability depends on its condition, edge finishing, fastening method and intended setup.
Damaged or poorly sealed edges can deteriorate, so assess the specific material rather than treating MDF and plywood as interchangeable.
Can You Glue Parts to a Busy Board?
Adhesive may be appropriate for certain materials, but it should not automatically be relied on as the sole attachment for parts a toddler can pull repeatedly.
Follow the adhesive manufacturer's directions and choose the fastening method according to the particular component.
How Do You Cover Screws on the Back?
Use a secure backing or enclosure that prevents the child from reaching screw tips, nuts and other hardware.
Plan this enclosure before drilling so that all fixing points can be covered properly.
Can You Put Lights on a Busy Board for a One-Year-Old?
For a homemade board, avoiding battery-powered activities is generally the simpler safety-first option. Button and coin batteries can cause severe injury if swallowed, and battery compartments on applicable children's products must meet specific security requirements.
If lights are important, an age-appropriate commercially manufactured toy with clear battery and safety information may be easier to evaluate than DIY electronics.
Does a One-Year-Old Need Supervision With a Busy Board?
Yes. A one-year-old should be supervised while using a homemade busy board because toddlers can interact with components in unexpected ways.
Supervision does not replace safe construction. Known hazards and loose components should always be corrected or removed.
Is a Homemade Busy Board Cheaper Than Buying One?
It can be, particularly if you already own appropriate tools and materials. However, the cost of the base, components, fasteners, backing, finishes and mounting hardware can add up.
Compare the complete DIY cost with suitable ready-made toys before deciding which option offers better value.
Choose the Safest Option for Your One-Year-Old
Making a busy board is most practical when you have suitable DIY skills and can confidently assess, secure and maintain every component. For a one-year-old, a simple board with fewer activities is generally easier to inspect than a complicated design copied from social media.
If you are uncertain about a magnet, battery, small component, fixing or moving mechanism, leaving it off the board is the safer choice. Follow current ACCC Product Safety guidance and continue checking the board throughout its useful life.
Choose the Safest Practical Option for Your Family
Understanding how to make a busy board for 1 year old includes knowing when a DIY project is appropriate and when a ready-made alternative makes more sense. The board should be easy for your family to inspect, maintain and remove from use whenever something becomes damaged or loose.
Safety note: A homemade busy board is not automatically compliant with Australian toy-safety requirements. Toys intended for children up to and including 36 months are subject to mandatory safety requirements, including protections relating to small parts. A home-built board has not automatically undergone that compliance testing. Follow current ACCC Product Safety guidance, supervise use, inspect the board regularly and remove it immediately if any component or fixing becomes loose, damaged or unsafe.